
The GoPay cloud printer is used to print receipts from the Gopay Receipt Control app, when customers scan their mobile receipt.
The printer requires an internet connection with cable. Follow the guide below to setup the printer.
Connect the printer to the network
- Connect the LAN cable to the printer LAN connector, and connect the plug on the other end to the hub, router, or other network device.
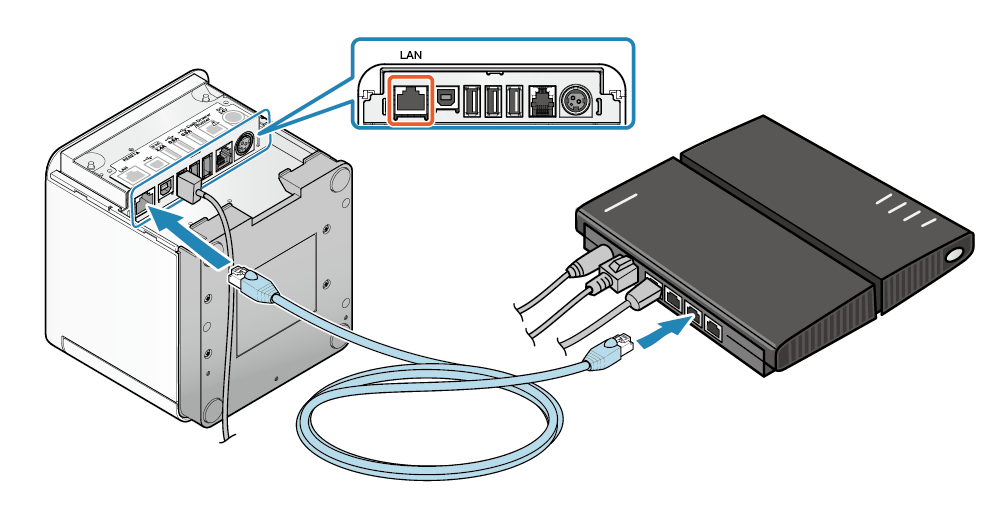 For details, refer to Connect LAN Cable and follow the procedure and precautions in that section.
3. Connect the AC adapter to the printer
- Connect the power cable to the AC adapter
 and connect the AC adapter plug to the printer
  . Then insert the power cable plug into the outlet
  .
.
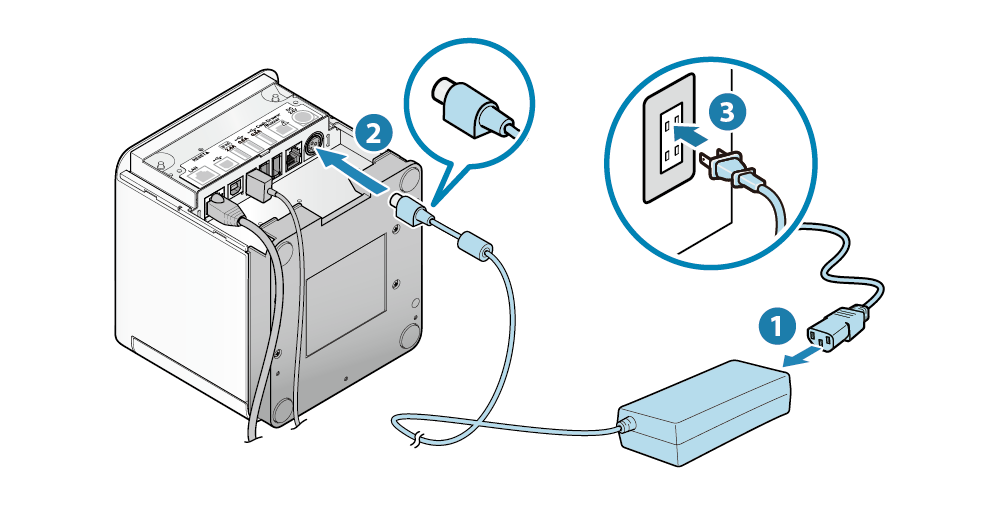 For details, refer to Connect AC Adapter and follow the procedure and precautions in that section.
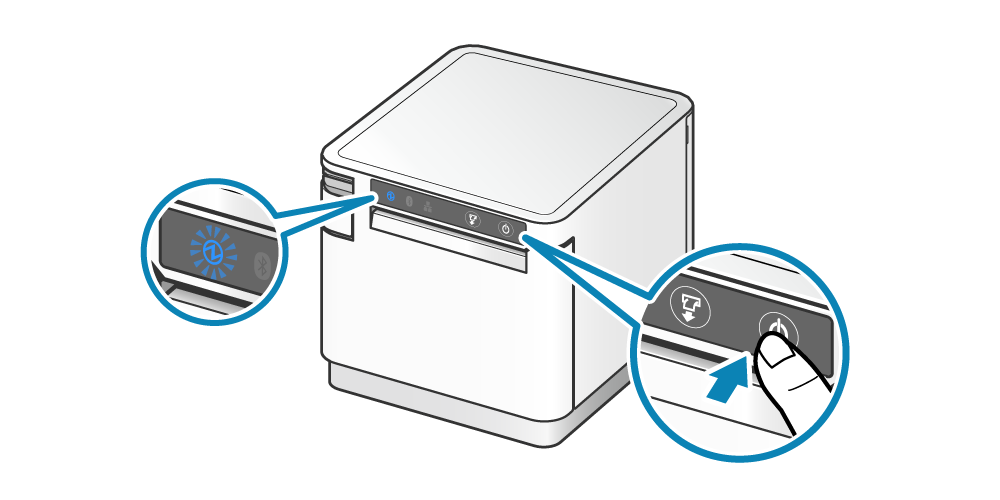
4. Turn ON the printer power
- Press the Power button on the right side of the operation panel on the front of the main unit. When the Power LED lights up, release the Power button.
Download the mC-Print Utility App on your phone
You can find the App in Google Play Store or in Apple App Store. The App is called mC-Print Utility
Open the app and connect the printer to the phone
Make sure your printer is running firmware version 3.3 or later
If your printer runs an earlier version, you need to update the firmware through the App.
Go to Printer settings:
Add the GoPay print URL in settings
Find the GoPay print URL in facilitynet.io
More to come....
Type the URL in the printer app
Default username is root and password is public. You can change these setting in the App.
Enable CloudPRNT, add URL and change polling time to 2. Apply changes.
The default FacilityNet URL is:
https://bestil-nu.net/receiptControl/printer/queue/[Your FacilityNet ID]
Your printer is now ready to print receipts from GoPay.